

Emma Bergman’s For The World To Come, photo credit Jonas Muller-Ahlheim. Image courtesy of the artist.

Emma Bergman’s For The World To Come, photo credit Jonas Muller-Ahlheim. Image courtesy of the artist.

Emma Bergman’s For The World To Come, photo credit Jonas Muller-Ahlheim. Image courtesy of the artist.

Emma Bergman’s For The World To Come, photo credit Jonas Muller-Ahlheim. Image courtesy of the artist.

Emma Bergman’s For The World To Come, photo credit Jonas Muller-Ahlheim. Image courtesy of the artist.

Emma Bergman’s For The World To Come, photo credit Jonas Muller-Ahlheim. Image courtesy of the artist.

Emma Bergman’s For The World To Come, photo credit Jonas Muller-Ahlheim. Image courtesy of the artist.

Emma Bergman’s For The World To Come, photo credit Jonas Muller-Ahlheim. Image courtesy of the artist.

Emma Bergman’s For The World To Come, photo credit Jonas Muller-Ahlheim. Image courtesy of the artist.
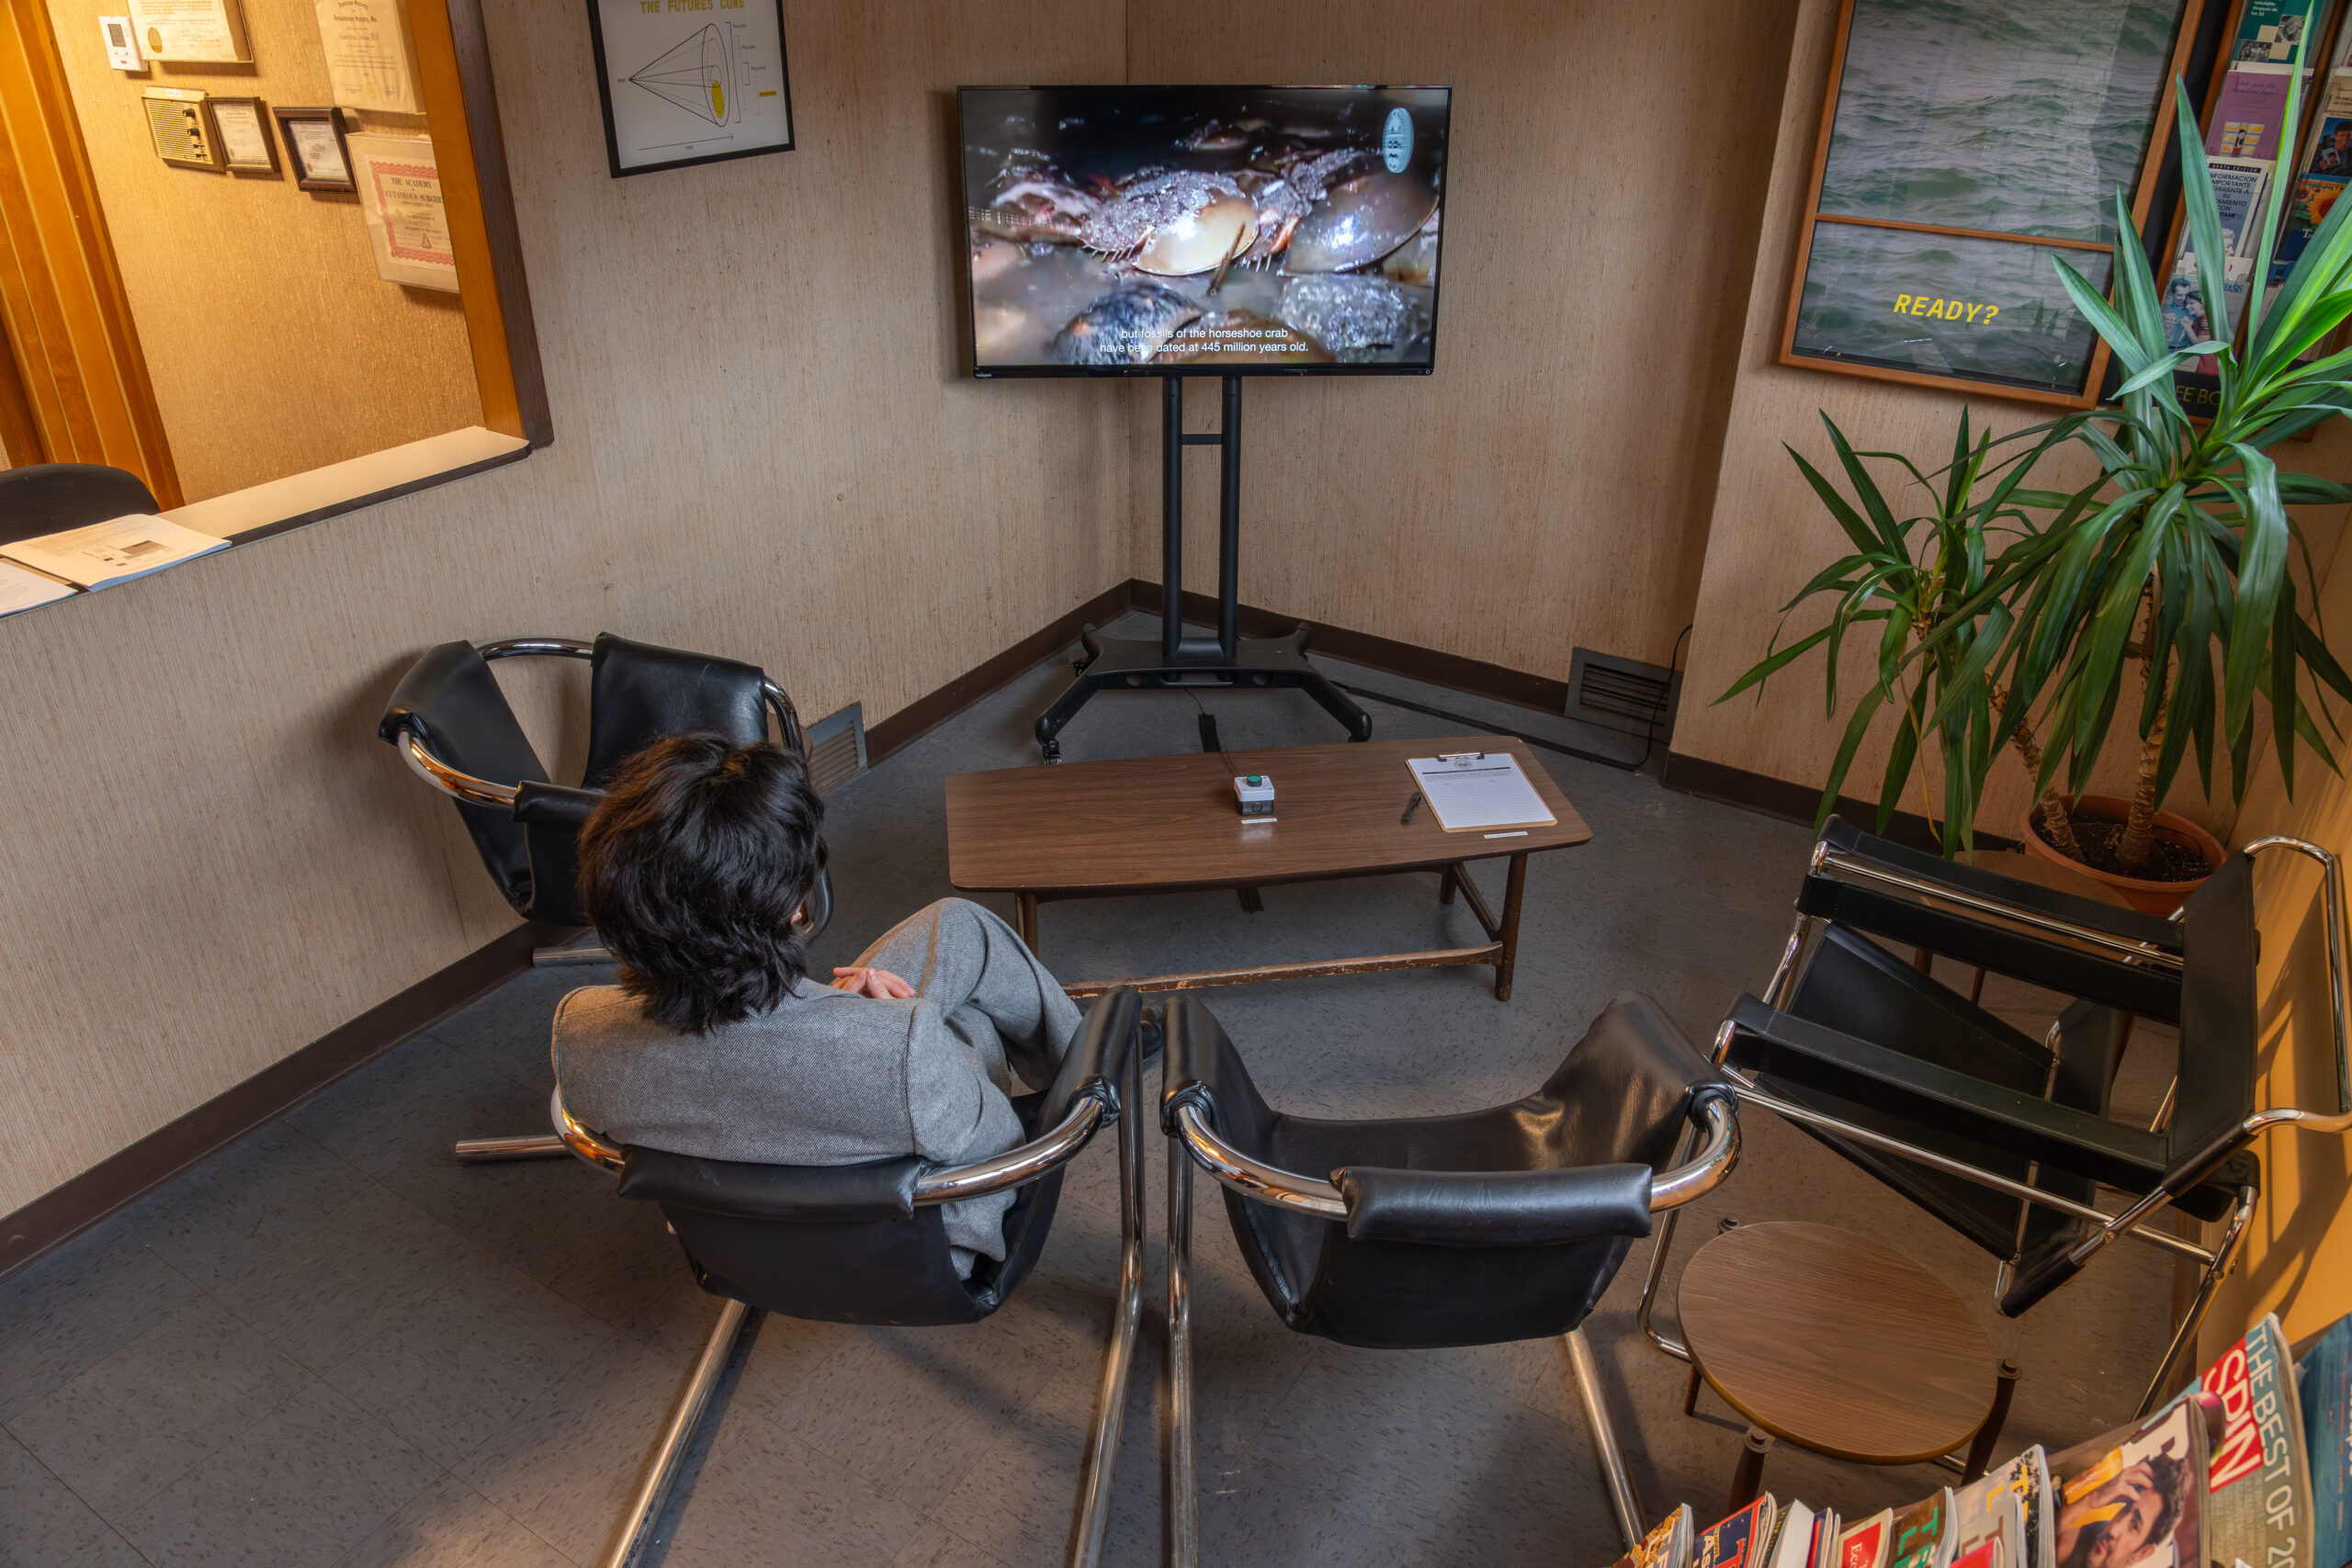
Emma Bergman’s For The World To Come, photo credit Jonas Muller-Ahlheim. Image courtesy of the artist.

Emma Bergman’s For The World To Come, photo credit Jonas Muller-Ahlheim. Image courtesy of the artist.

Emma Bergman’s For The World To Come, photo credit Jonas Muller-Ahlheim. Image courtesy of the artist.

Emma Bergman’s For The World To Come, photo credit Jonas Muller-Ahlheim. Image courtesy of the artist.

Emma Bergman’s For The World To Come, photo credit Jonas Muller-Ahlheim. Image courtesy of the artist.

Emma Bergman’s For The World To Come, photo credit Jonas Muller-Ahlheim. Image courtesy of the artist.

Emma Bergman’s For The World To Come, photo credit Jonas Muller-Ahlheim. Image courtesy of the artist.

Emma Bergman’s For The World To Come, photo credit Jonas Muller-Ahlheim. Image courtesy of the artist.

Emma Bergman’s For The World To Come, photo credit Jonas Muller-Ahlheim. Image courtesy of the artist.

Emma Bergman’s For The World To Come, photo credit Jonas Muller-Ahlheim. Image courtesy of the artist.

Emma Bergman’s For The World To Come, photo credit Jonas Muller-Ahlheim. Image courtesy of the artist.

Emma Bergman’s For The World To Come, photo credit Jonas Muller-Ahlheim. Image courtesy of the artist.

Emma Bergman’s For The World To Come, photo credit Jonas Muller-Ahlheim. Image courtesy of the artist.

Emma Bergman’s For The World To Come, photo credit Jonas Muller-Ahlheim. Image courtesy of the artist.

Emma Bergman’s For The World To Come, photo credit Jonas Muller-Ahlheim. Image courtesy of the artist.
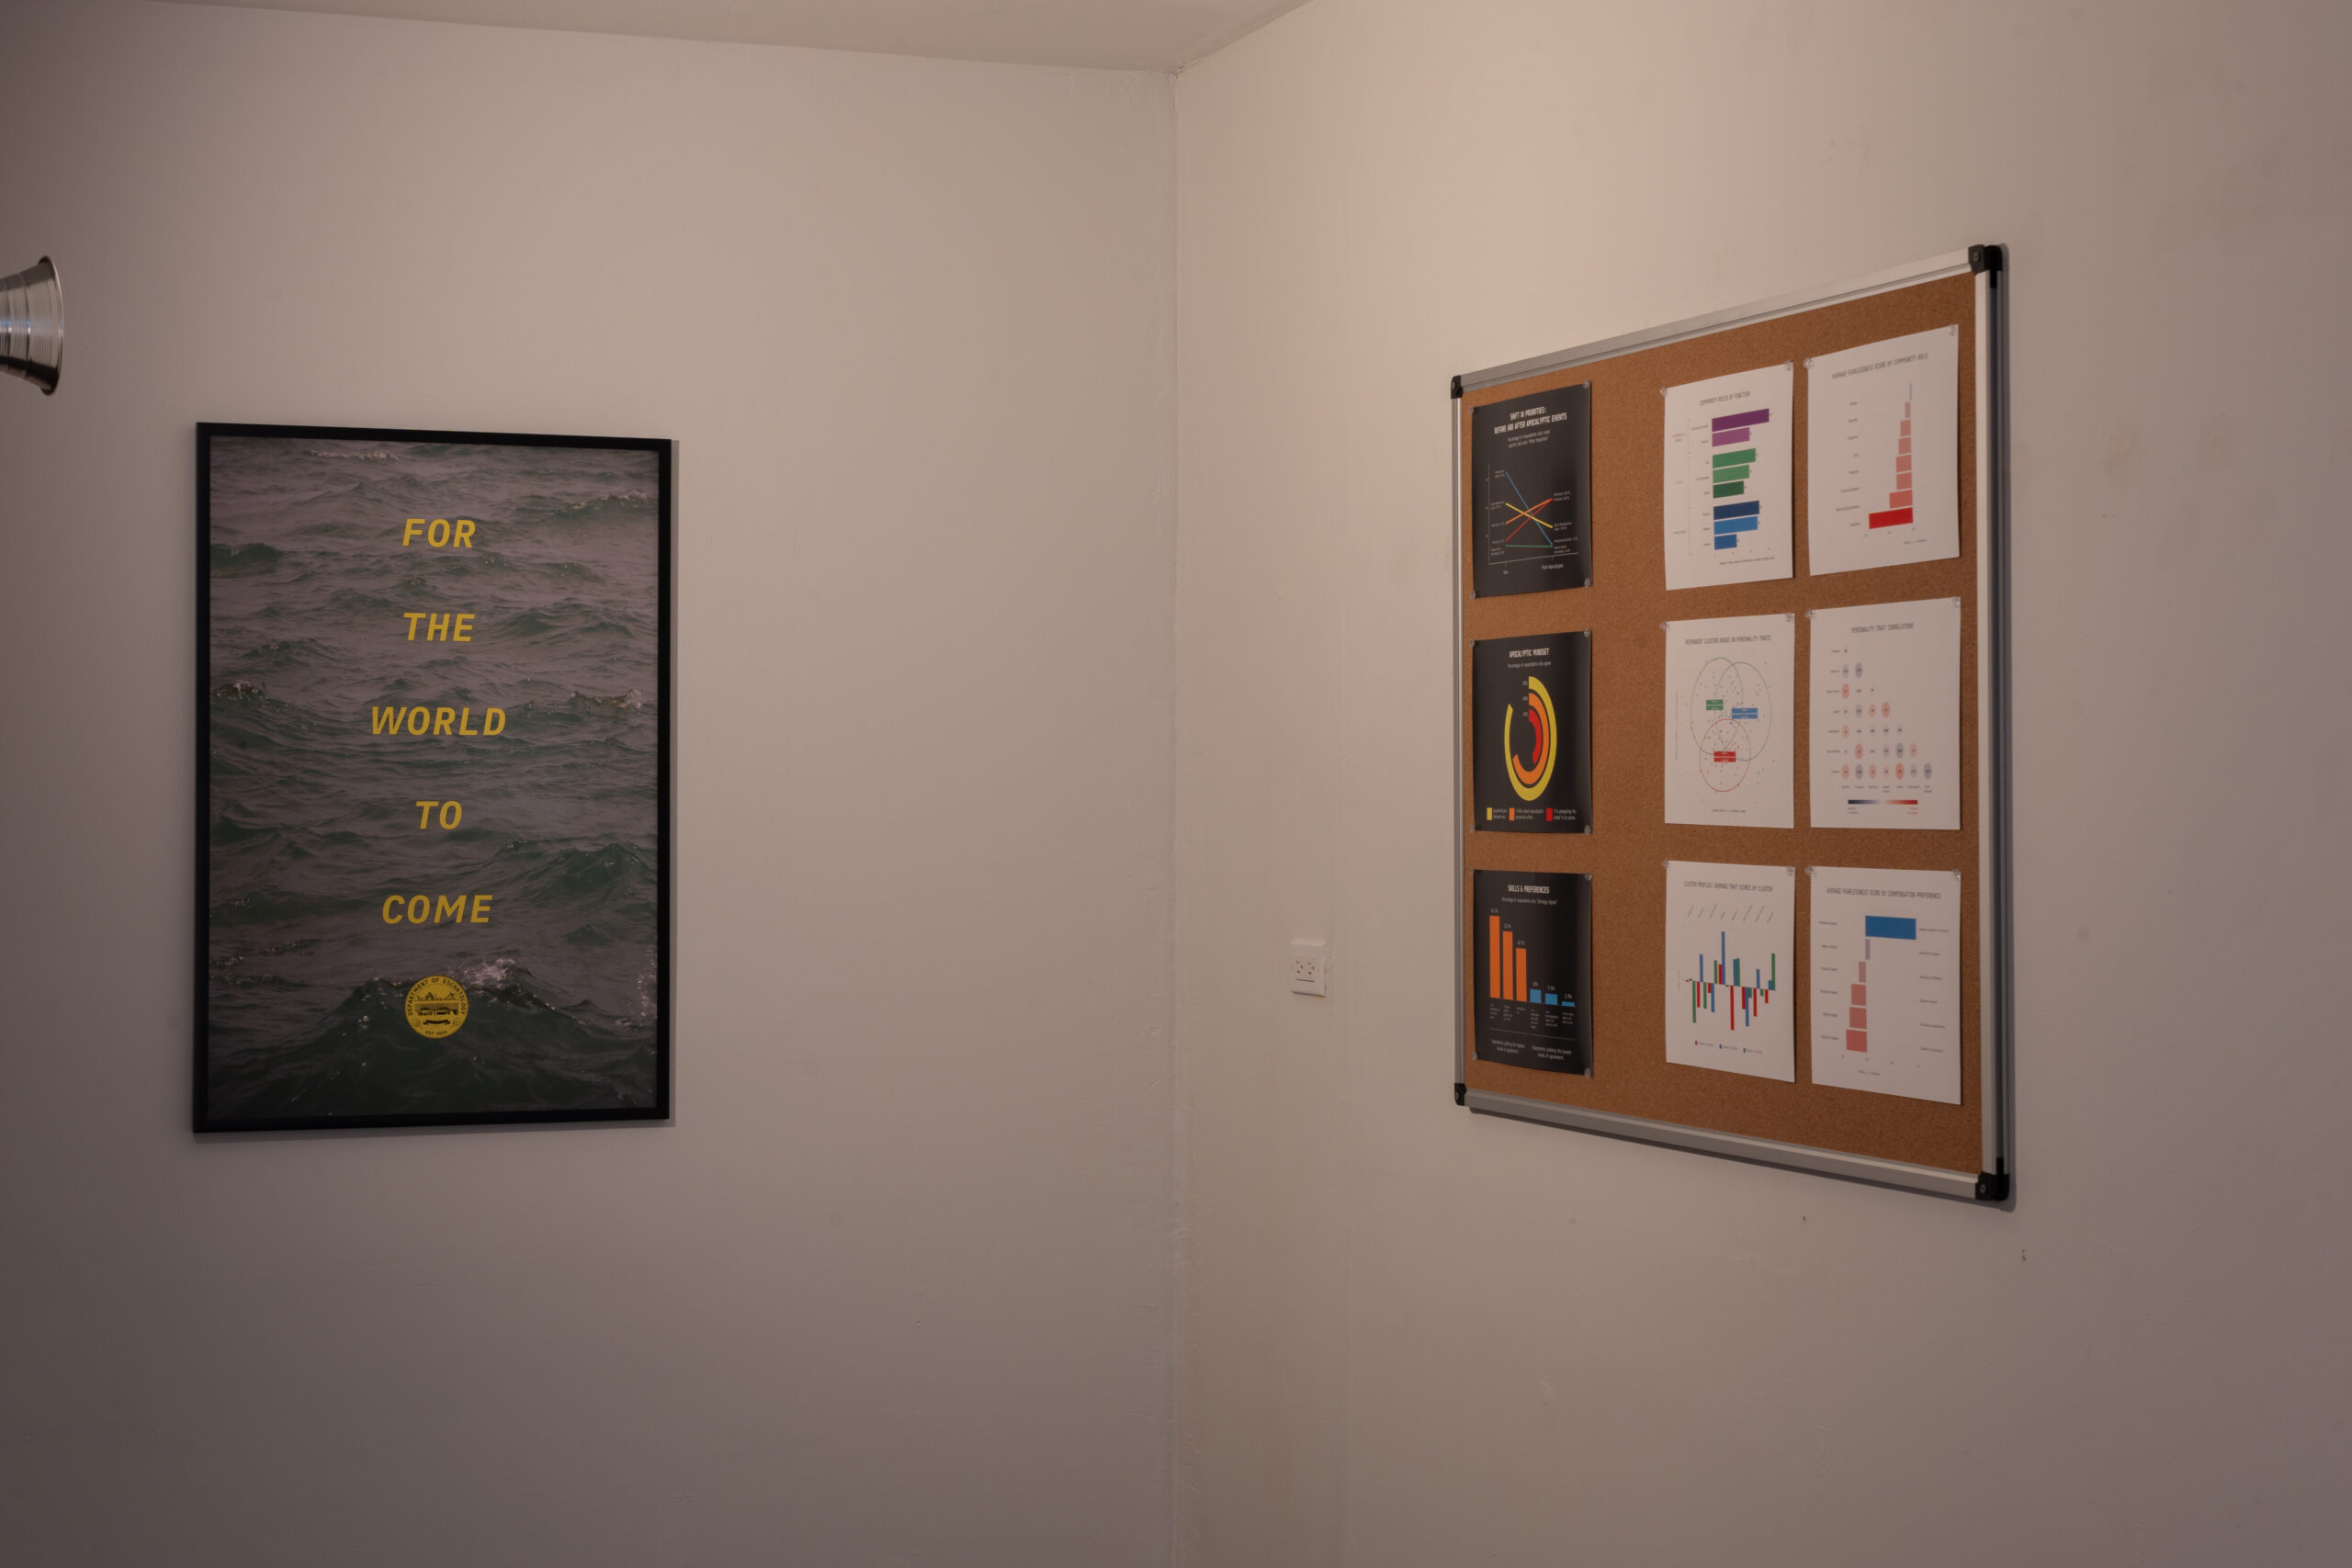
Emma Bergman’s For The World To Come, photo credit Jonas Muller-Ahlheim. Image courtesy of the artist.

Emma Bergman’s For The World To Come, photo credit Jonas Muller-Ahlheim. Image courtesy of the artist.

Emma Bergman’s For The World To Come, photo credit Jonas Muller-Ahlheim. Image courtesy of the artist.

Emma Bergman’s For The World To Come, photo credit Jonas Muller-Ahlheim. Image courtesy of the artist.
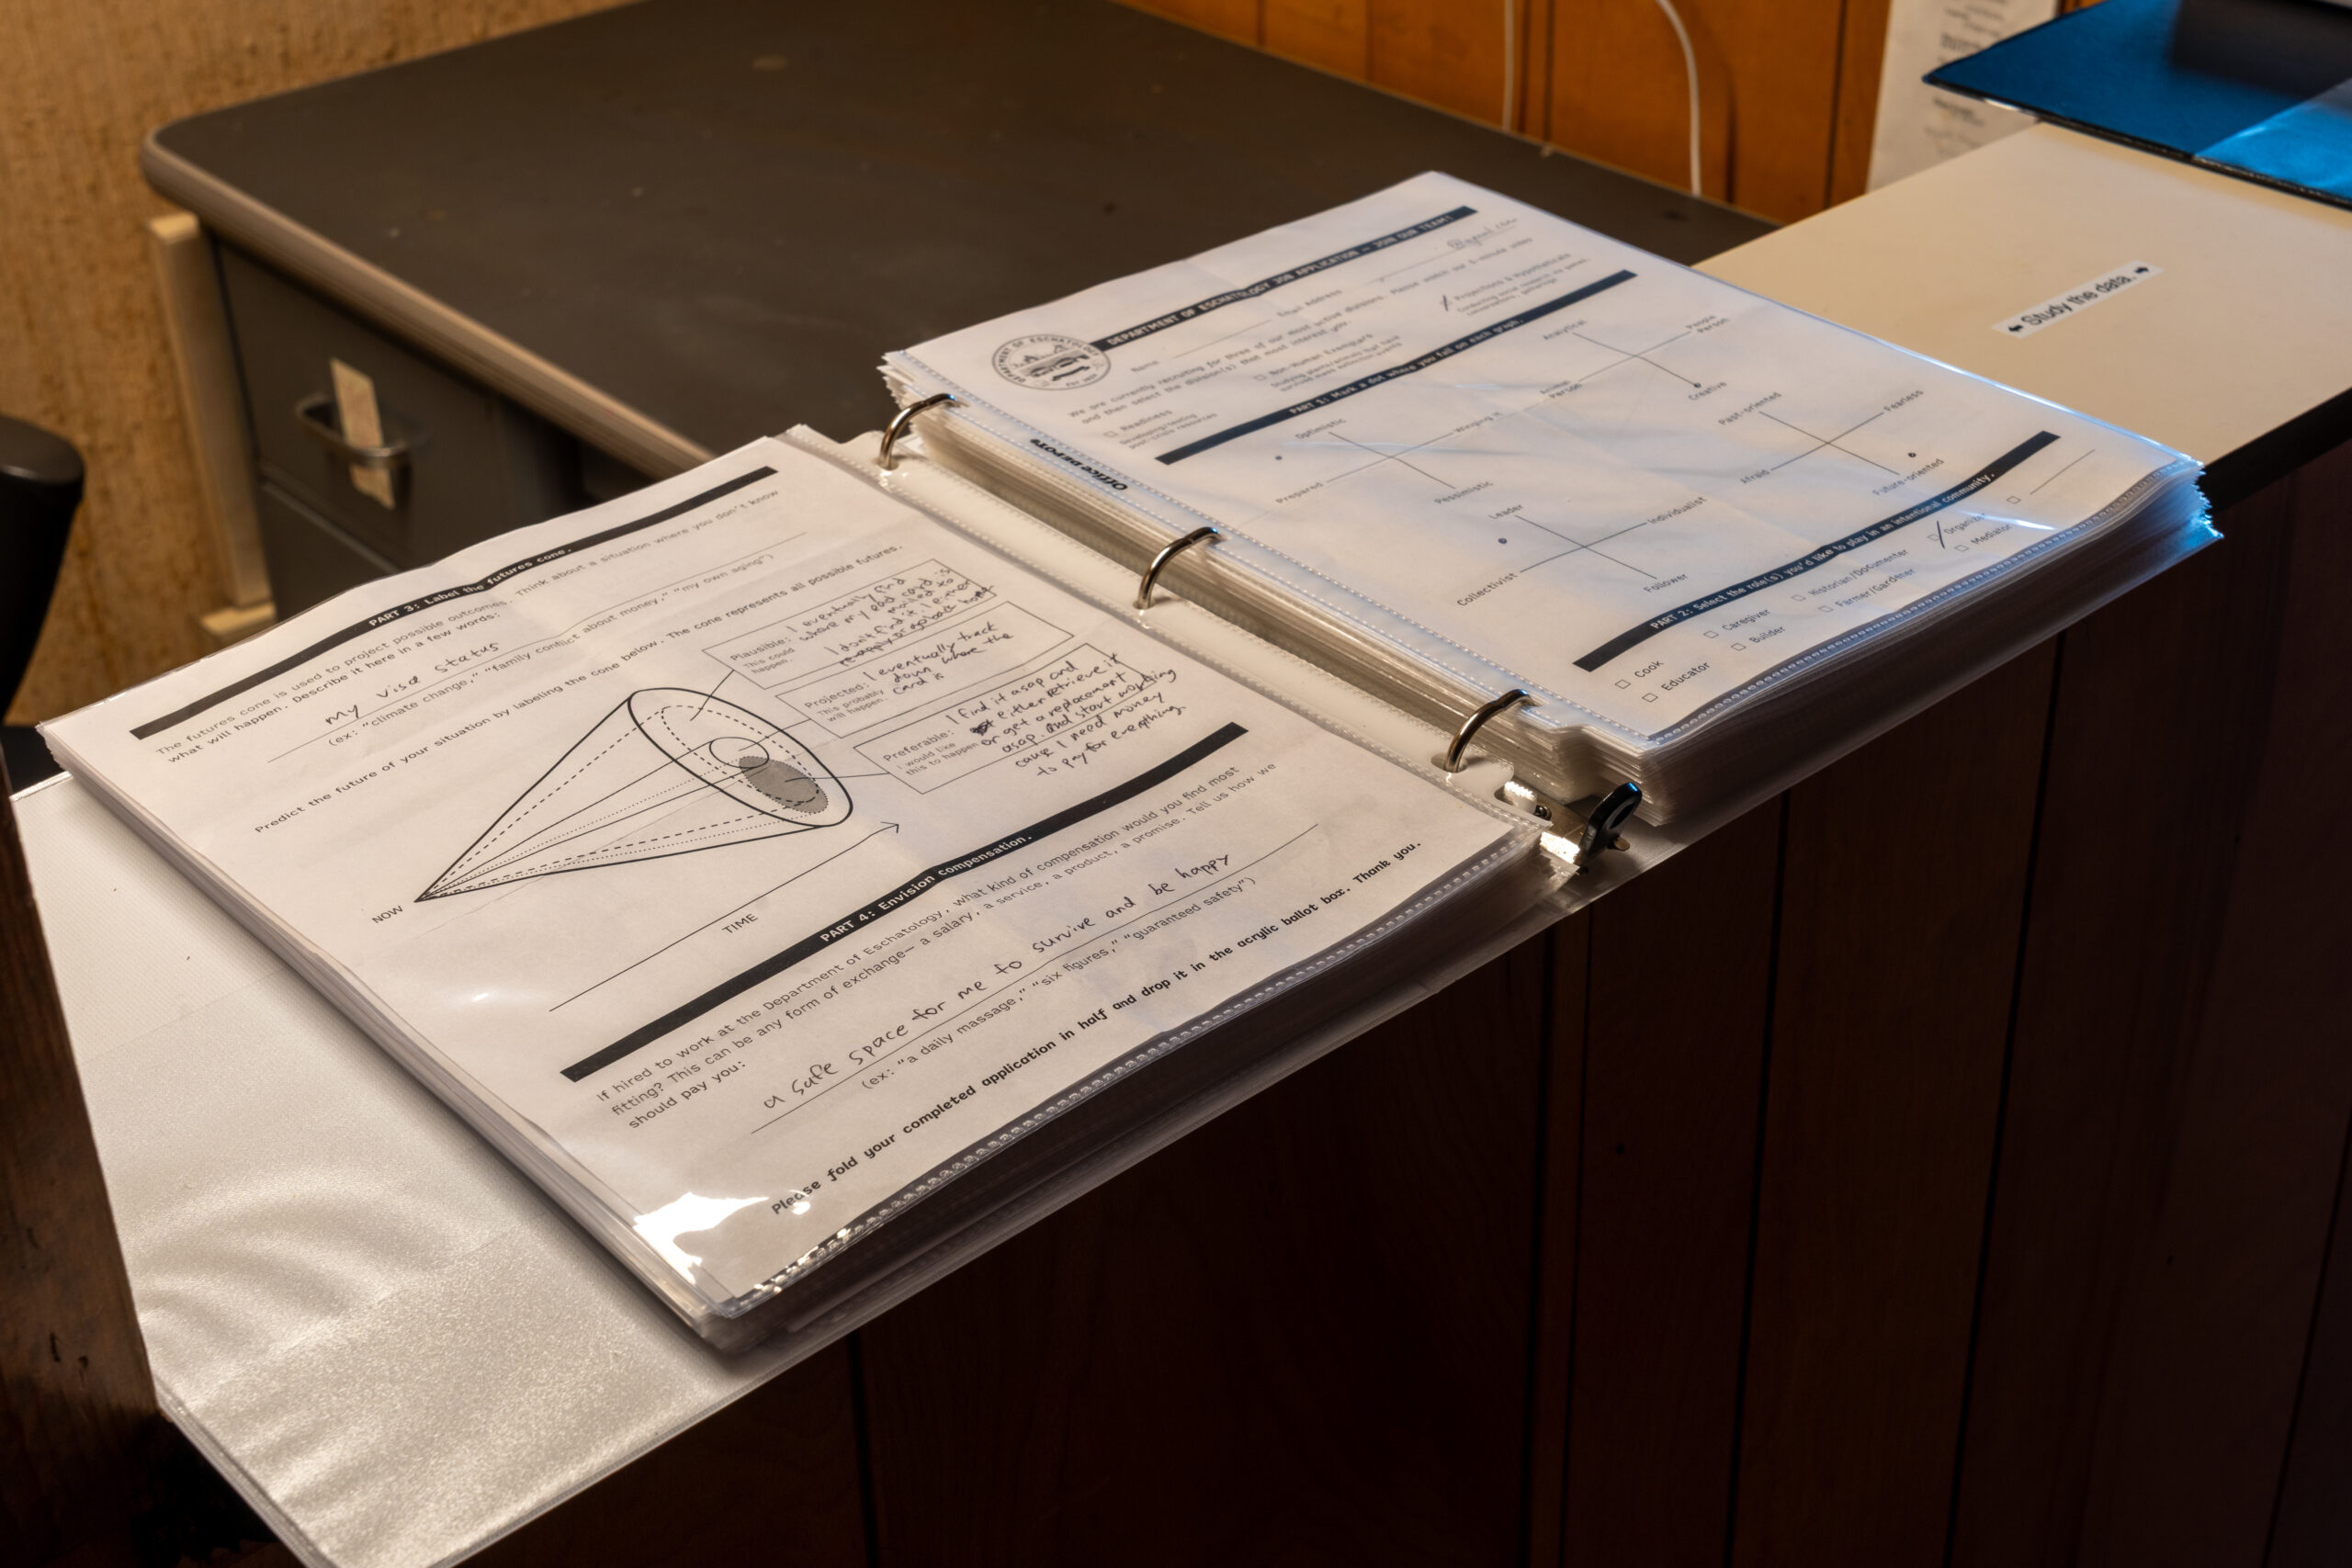
Emma Bergman’s For The World To Come, photo credit Jonas Muller-Ahlheim. Image courtesy of the artist.

Emma Bergman’s For The World To Come, photo credit Jonas Muller-Ahlheim. Image courtesy of the artist.

Emma Bergman’s For The World To Come, photo credit Jonas Muller-Ahlheim. Image courtesy of the artist.